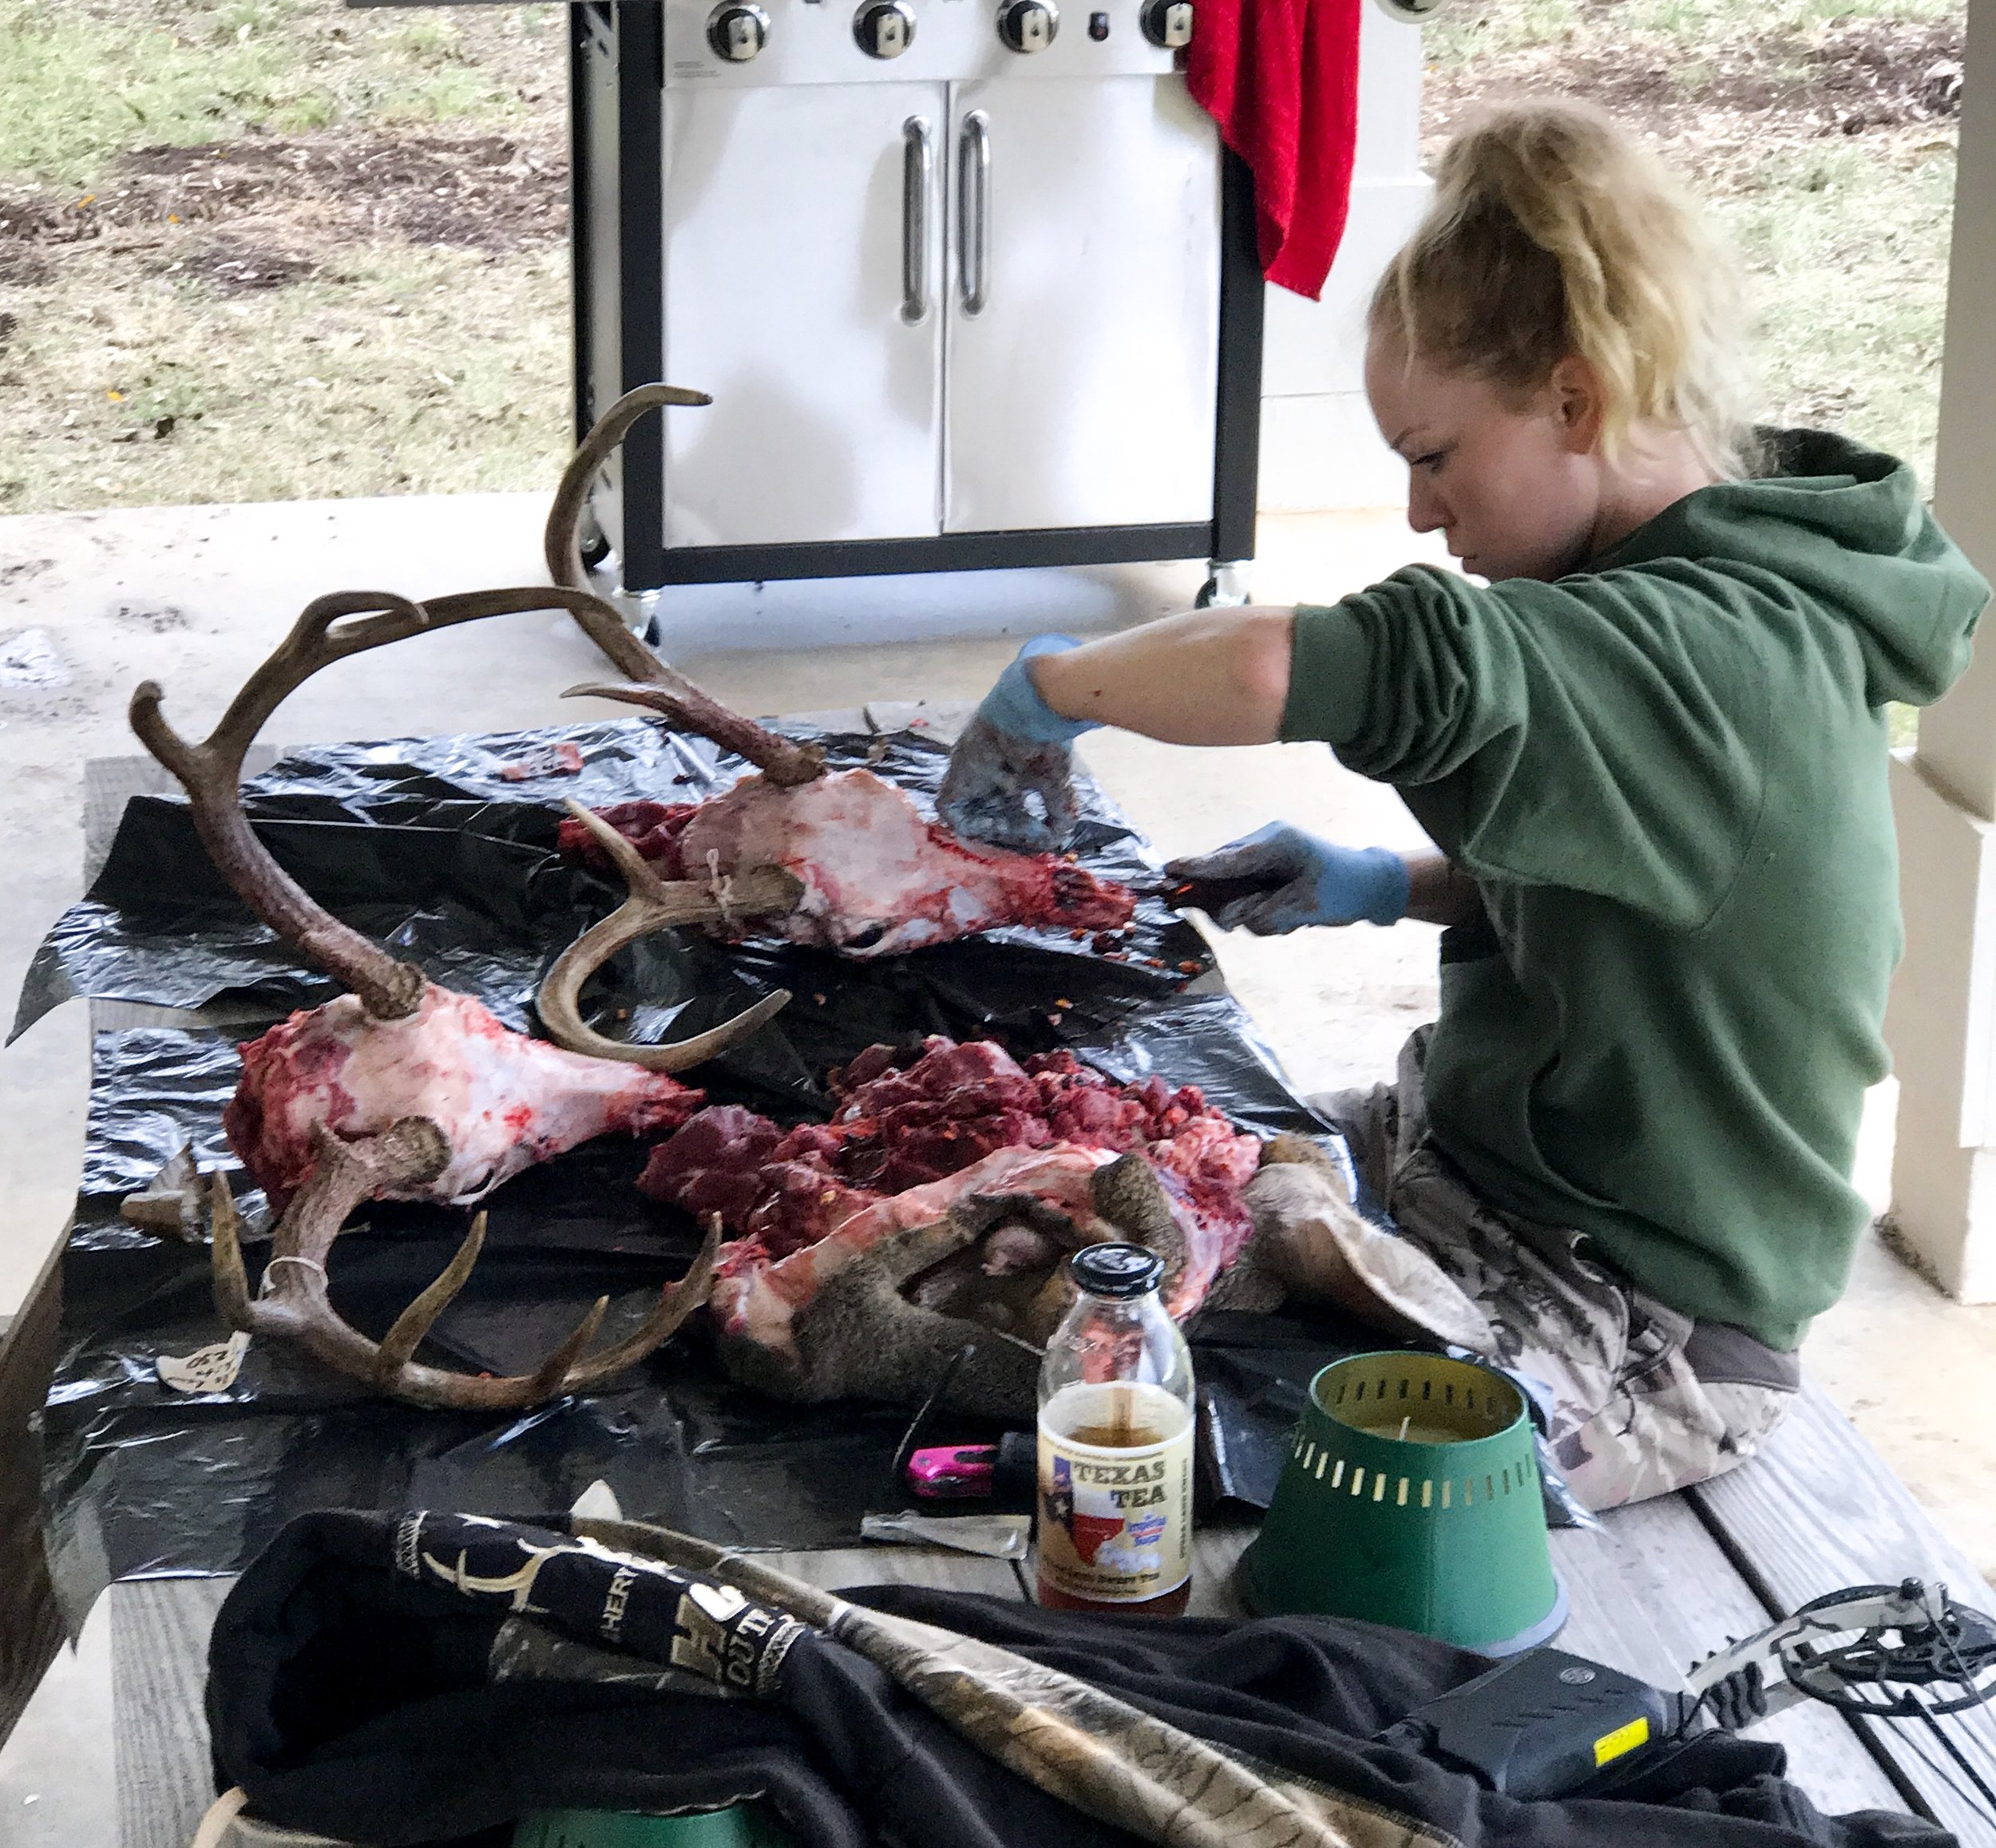
I have a weak spot for euro mounts and I've wanted to learn how to do my own for years, so I took advantage of the fact that my taxidermist friend Sierra Langbell was in camp with us when I shot "The Big 8." After she walked me through finishing mine, I fell in love with the process. Now I do several a week for hunters that book with us or that hunt in the area. In fact, the skull used in the video is a client's, and they were very happy!
I hope it helps another beginner out there who wants to take the reigns, or maybe doesn't have the cash flow to take it to someone else. This is a very detailed blog, possibly a little overboard, but it's important to know that there are multiple ways to do something and these heads are tough to mess up. Sure there are nicer ones than others, but at the end of the day, it's a skull. We find deadheads in the field that look amazing still covered in dirt with half the bone missing. Don't worry, yours won't look like that after following this step-by-step, but my point is to just appreciate what you've got and learn with each skull. You will love the first one because you'll find gratification in your work. LET'S DO THIS!
SUPPLIES NEEDED:
KNIFE - I highly suggest Havalon knives. Simply put, it's a surgical blade that cuts through the hide and gets into the small crevices of a euro mount extremely well. If you go this route, make sure you have replaceable blades - cutting on hair/bone will dull a knife quick
SCREWDRIVER - may seem like an odd tool, but it's perfect for "scraping" the boiled meat off the bone so that you're not scratching the skull up. It's also great to wedge between the hide and bone around the base of the antlers during the caping process.
POWER WASHER - without a doubt, the key to a clean looking skull. It's worth the investment if you don't have one, or you can make a trip to the car wash and use theirs! After speaking with a Canadian follower of mine, he mentioned using an air compressor in place of a power washer due to the weather freezing the water. This is also an option.
DRILL WITH 1/4" PADDLE BIT - the trick to getting ALL of the brains out
CAMP FUEL - used as a degreaser or to kill any bugs that might be interested in making a home in the skull
BORAX - to mix into boiling water in an effort to loosen the meat and degrease the head
LARGE METAL POT - preferably one that you don't plan to cook in ever again :) Needs to be big enough to boil the head in, obviously. If you find one big enough, you can face two skulls together and "hook" the antlers to knock out 2 at once!
SOURCE OF HEAT - we use a cheap burner that I don't recommend to anybody!! I love that it runs off propane, but it has a 15 minute timer that shuts off the propane unless you crank it back up every quarter hour. Save yourself the headache! We are getting a new one soon and I'll update this once we find one we like. Usually you can get the pot and burner all in one package - think fish fry and crawfish boil setups.
SPRAY PAINT - white, clear, glossy, matte, etc. is totally your preference. I used a white satin spray paint in the video, but I used a clear coat on "The Big 8" to keep his natural color. If you want to be extra creative, pull out a paint brush and go to town with whatever you want! 1 color or 10 colors, there's no right or wrong!
TAPE - I keep painter's tape and electrical tape on me for different uses, but just make sure you have at least one or the other
PLASTIC GROCERY BAGS - used to wrap the antlers during the spraying process
LATEX FREE PLASTIC GLOVES - this isn't a must-have but it sure makes it nice to switch back and forth between caping/scraping and boiling/painting.
TRASH BAGS/BUTCHER PAPER - to protect the surface of whatever you're working on. Ideally you'll work on a non-porous surface that can be sprayed down, but I personally sit at a wood picnic table on my back porch so protecting is a must!
PRE-INSTRUCTIONS:
Before we get started on the actual euro mount process, let's take it back a step. You'll need to remove the head from the rest of the body. I personally carry my Hooyman saw in my pack for cutting the pelvic bone, neck bone, etc as well as cutting limbs in the field that are interfering with shooting lanes. It's a great all around tool to keep on you during hunting season. However, there are obviously multiple ways to remove the head! If you can't get to the euro mount immediately, put the head in a trashbag and put it in a freezer until you have time to get started. Note: if you pull one out of the freezer, let it thaw out before getting started! A little stiffness won't hurt anything, but just don't work on one that's completely frozen.
INSTRUCTIONS:
Cape the head out. If you plan to keep the hide to use for another project, or give to a taxidermist (I gave mine to Sierra as a backup for her taxidermy business), then DON'T follow the way I caped in the video. It's such a detailed process that I wouldn't recommend it on your first euro mount unless you've got someone guiding you in person. In other words, just get the skin off the head so we can get started! You'll find that taking the hide off around the antlers can be pretty tough, but be patient.
Cut off as much meat as possible. If you still have the neck joint connected, go ahead and disconnect it first. It can be tricky, but wiggle it back and forth making small cuts until it disconnects. Otherwise, I like to start with the cheek meat, then flip the head onto its nose and cut the tongue out. I also prefer to remove the bottom jaw, eyeballs, and brain before boiling, while others may choose to keep theirs on and let the boiling process separate all of them from the skull. Totally up to you. The idea is to remove as much meat as possible to make the boiling process shorter and have a cleaner overall look. Remove the brain by placing the 1/4" paddle bit in the brain cavity and loosening up the matter. Then use a screwdriver to "pull" it out. There will be a LOT more in there than you would expect, so repeat the drilling process several times if needed.
Fill up the large metal pot, bring it to a low boil, and add borax. There's no special amount of borax - you don't have to be "safe" with it. It's simply a natural cleaner/degreaser that helps to separate the meat from the bone. Place head in water and tie it down so that the antlers are above water. We use a thin wire to tip the head back and tie down by the antlers. Boil for 90 minutes or until the meat appears to be falling off. A good guide is to flip the head over and see if the meat from the roof of the mouth is rolling down off the skull.
Remove head from water CAREFULLY (because after all, it's boiling) and use the screwdriver and/or knife to scrape as much meat off the skull as possible while it's warm.
Power wash the skull immediately after, in hopes that some of the meat is still warm and loosened up. It helps to place the head up against a post or something to stop it from moving all over the place. Make sure you place the nozzle right outside of the brain cavity to rinse the remaining matter; you'll see little chunks of white stuff come out. WARNING: Do not stand right over the skull when you do this. It will result in brain chunks/juice all over you - I speak from experience. Rinse out the nasal cavity really well too; there's a good chance that spraying through the back of the head will push out all the stuff within the nose - it's darker in color than the other stuff and tends to look like bigger chunks/strips of meat.
Repeat steps 3-5 if necessary (highly likely that you'll have to), but only boil for about 30 minutes this time. That should be plenty to break down any remaining lining. Note: you DO NOT need to pour out the water and start over; you can reuse the water from the first boil. It won't hurt anything, but you'll want to switch out if you're doing several heads back to back.
Pour camp fuel over the skull and make sure you get in the tiny holes. As you can imagine, bugs are attracted to the bits of meat left over, so camp fuel helps eliminate any critters. Let dry for a day, preferably in the sun if possible.
Tape the base of the antlers really well, then wrap with grocery bags and tape them down so there aren't any holes that spray paint could go through.
Coat with spray paint of choice. I typically do clear or satin white. Let dry then spray a second coat.
Once paint is completely dry, remove the tape and grocery bags. Rinse antlers with warm water to get any remaining residue off.
Let dry again and hang wherever you'd like! I've never attached one to a piece of wood (very common), but I purchased a Skull Hooker and I can't imagine anything more appealing. I will most likely always use one to hang my euros, but feel free to get creative with backdrops!
POTENTIAL SETBACKS:
This is simply a list of ingredients that will correct almost all common problems that I've gathered from others, as well as from my own experience. I will continue to update as I learn more! Most problems surface from boiling too long or too high of a temperature, or using chemicals for too long or too concentrated. I've learned that no more than 2 hours of boiling, paired with using spray paint instead of chemicals, results in a beautiful mount every time.
PROBLEM:
Bones will become brittle and possibly break off.
The nose will split up the center. Note: I actually don't mind a soft split in the middle, but if it gets too large, consider the sculpting clay below to correct it
Deer skull and antlers are not together; maybe he shed the antlers right after the shot, or you found a piece from fighting, etc and you want to put them back together
A squirrel comes and chews on the skull behind your back (Yes this happened, and I hope you're decent at sculpting bones out of clay!! Tip: don't leave skulls in grass!
SOLUTION: Apoxie 2-in-1 sculpting clay.. Extremely forgiving, especially in the first hour. Dries hard in 24 hours. Purchase here.
PROBLEM:
Antlers changed colors at the base (super common when choosing to add bleach to the boiling water)
SOLUTION: Light wood stain
PROBLEM:
Teeth begin to fall out of the skull
SOLUTION: Clear super glue
PROBLEM:
the Apoxie 2-in-1 clay creates a rough surface making an obvious line between clay and bone
The skull develops a white "filmy" layer from chemicals
spray paint is chipping or you want to change colors
SOLUTION: Sandpaper - make sure to start with coarse then finish with fine